Skills Practice #1: Photogram

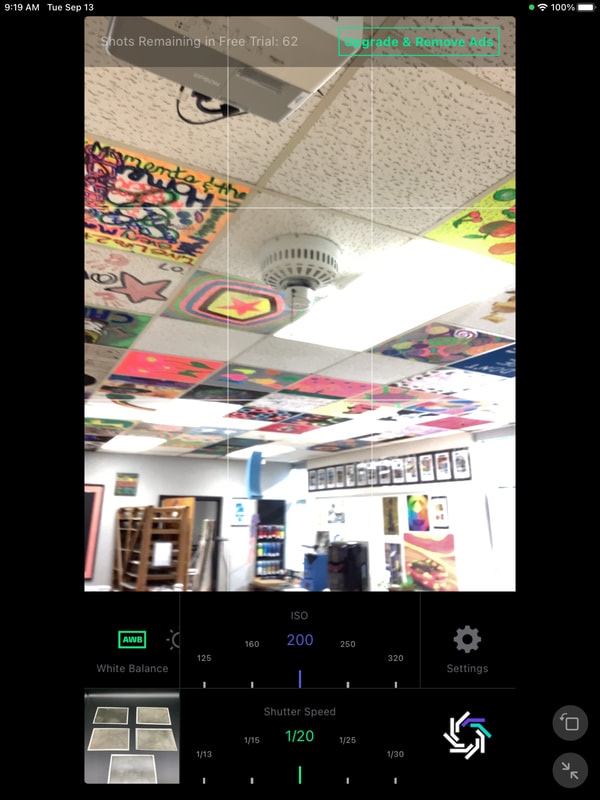
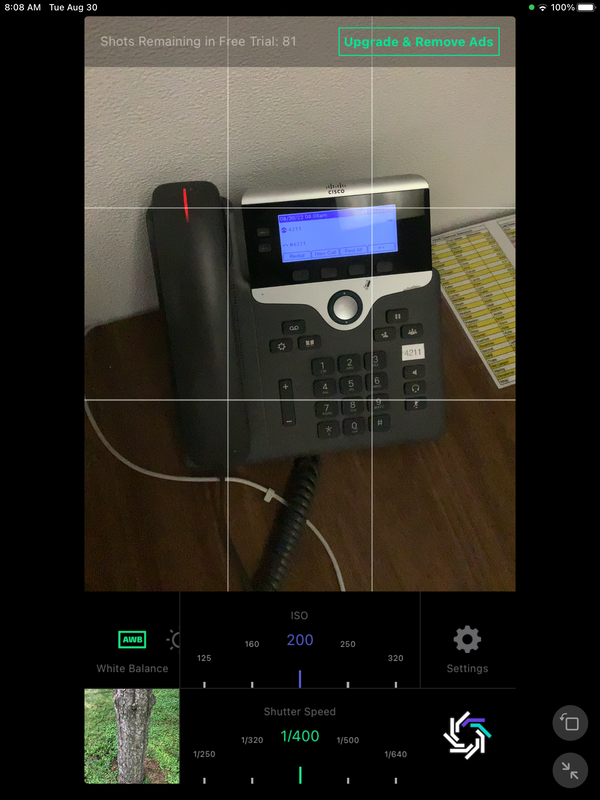
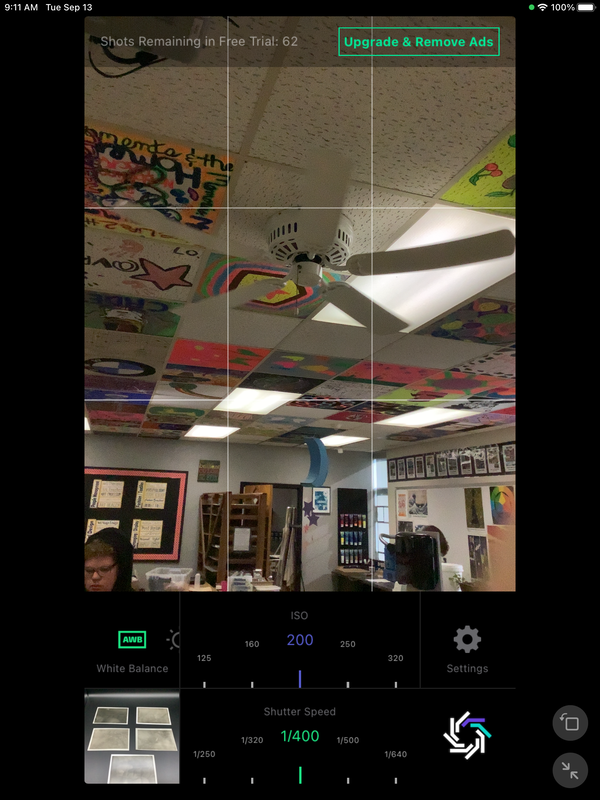
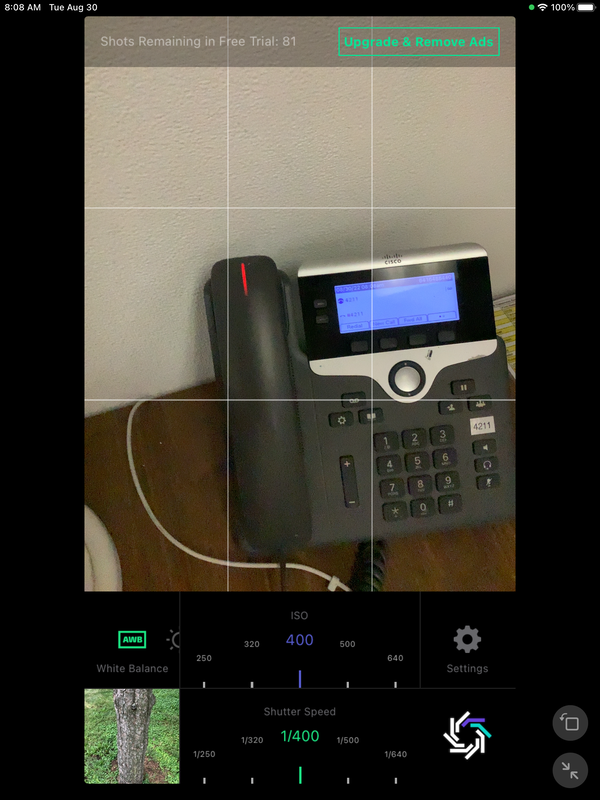
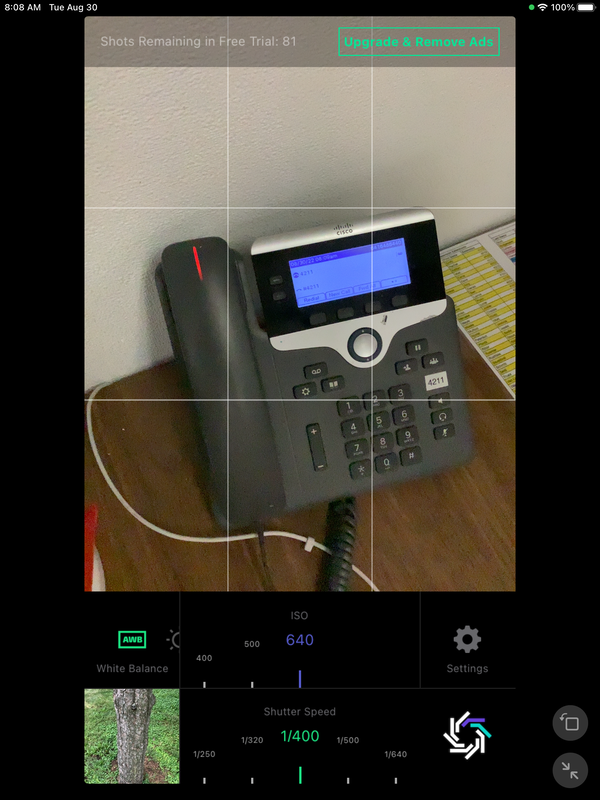
Skills Practice #2: ISO & Shutter Speed
|
|

|
Skills Practice #3: 9 Rules of Composition
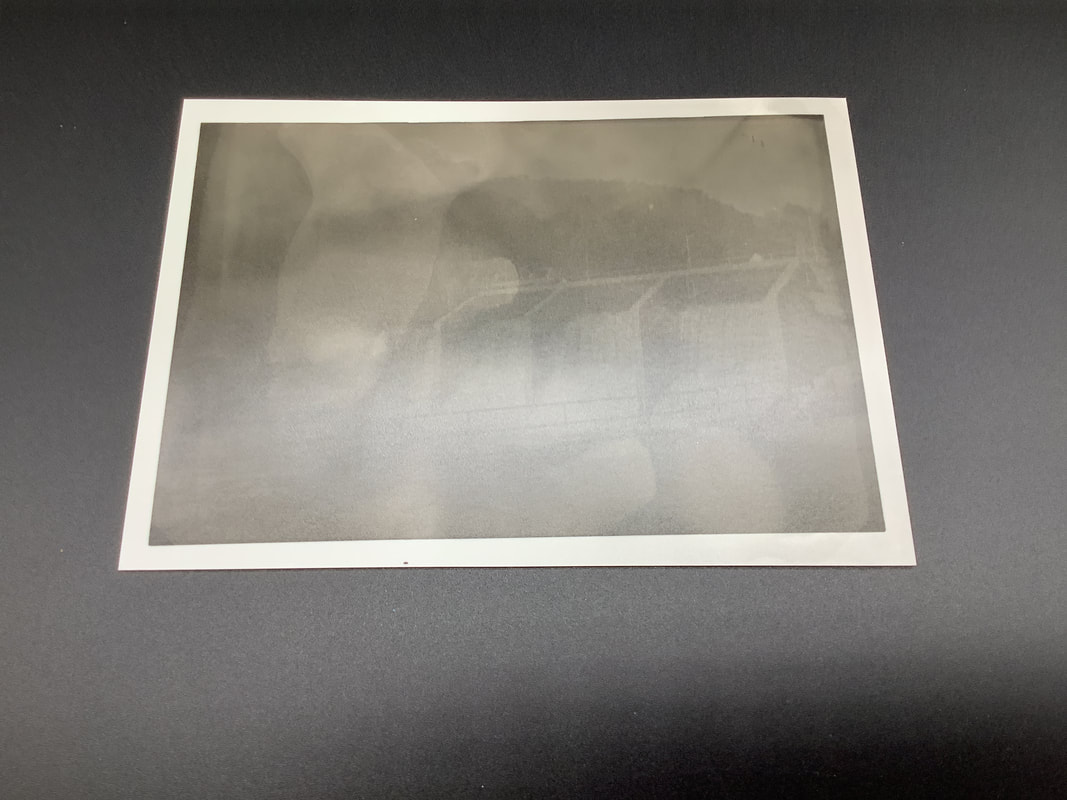
Skills Practice #4: Dark Room Photography

|
|
The process of the darkroom is pretty cool. First, you choose the film which you have already developed so you can use it. You find the image you want to use and you insert it into the tray and get your negative paper in line with the film. You also want to focus the image to what where you want it. Once all that is said and done, you can develop the negative. You expose your negative to light causing the the image to imprint onto your paper. Your lights become dark and darks becomes light. You can get advanced with it and start to dodge and burn to try to focus light in certain areas exposing it longer periods of time or reduce the amount of exposure to make it lighter. It was really fun to experiment and try dodging and burning in the dark room. After you have exposed your negative to light, you set in developer until the image takes shape so to say. Basically till the image you want is shown. You don't want to leave it in to long because then it is completely black, but long enough so it isn't too light. Next, you put it in a stop bath for about 10 seconds. Then place it in some fixer in turn setting the image. Finally, rinse your image off with some water and hang it up to dry. Not every image is going to turn out, which sometimes can be frustrating, but it can also make that one picture that does turn out just that much better. Overall, I liked the entire dark room experience.
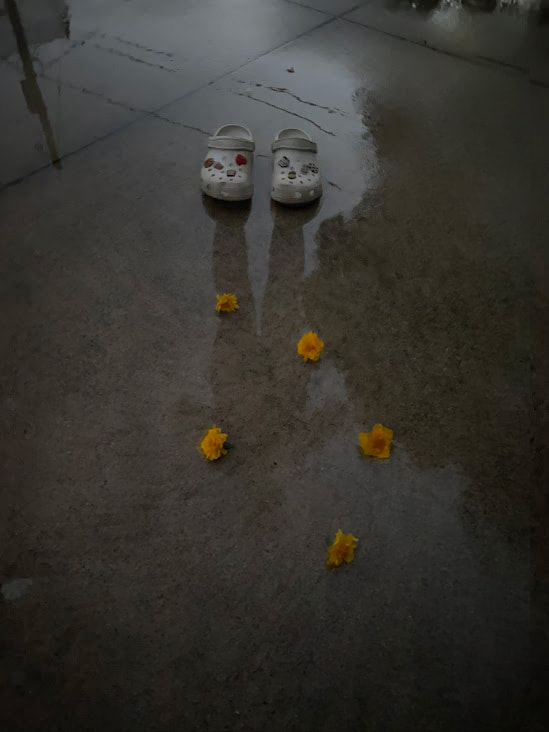
Skills Practice #5: Photoshop Crocs Photo & Forced Perspective Fails
|
|


